|
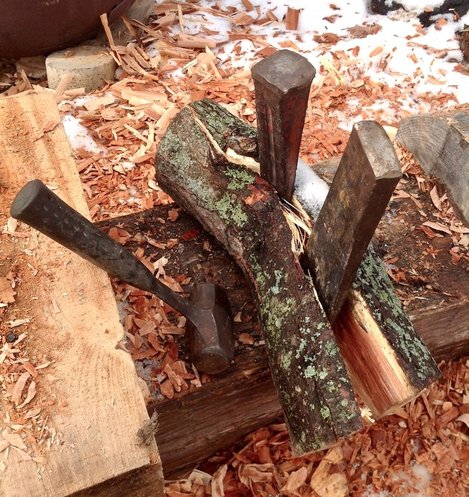
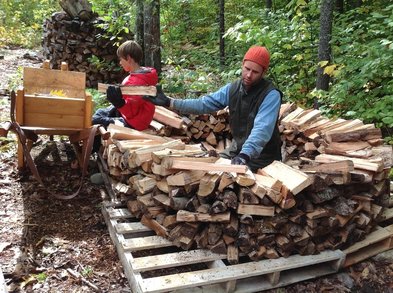
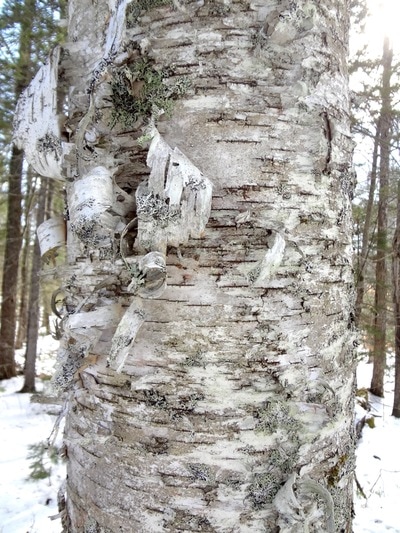
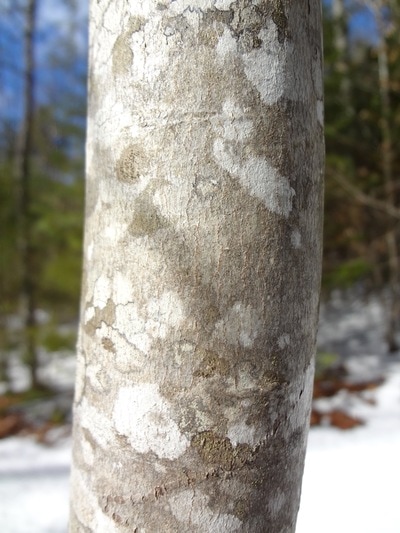
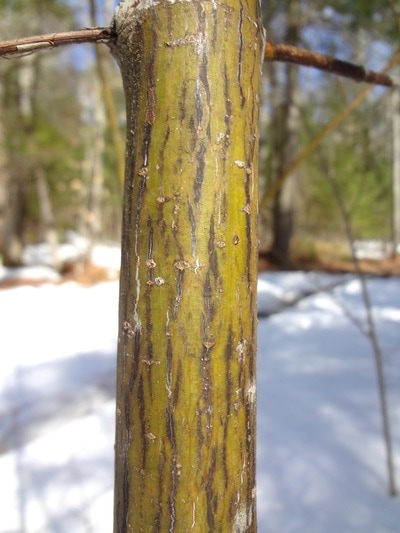
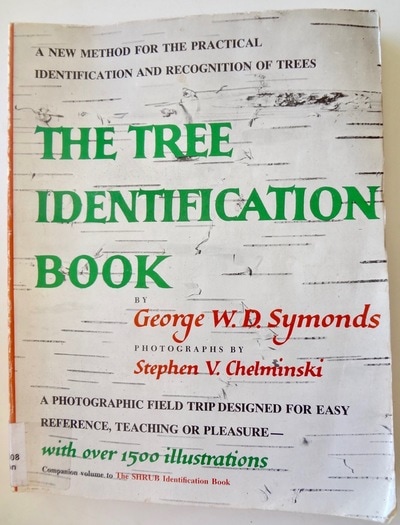
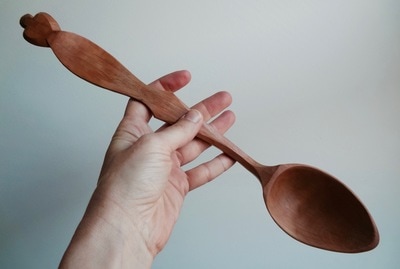
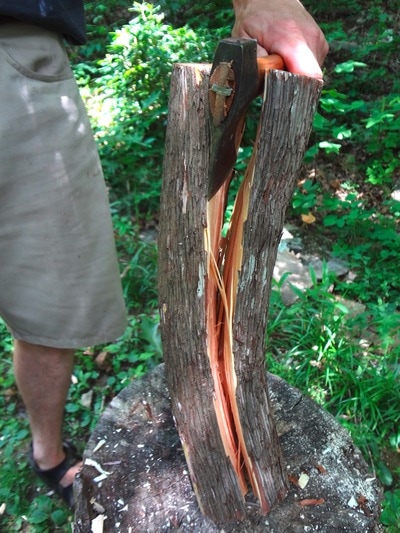
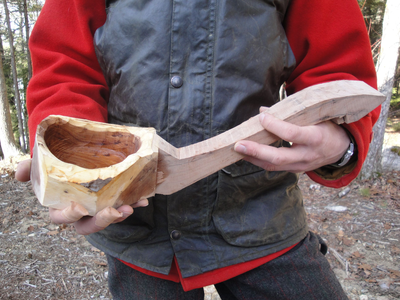
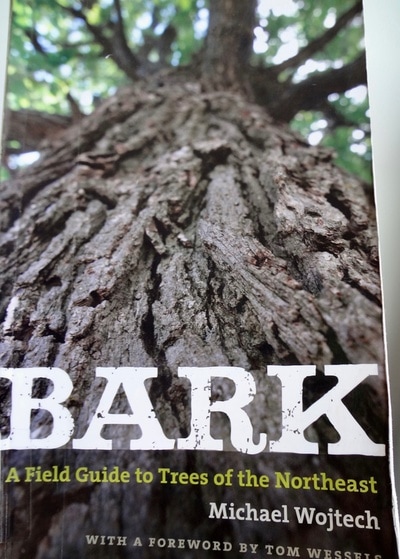
I think there’s a lot that would be helpful to say about identifying and acquiring good wood for carving. How does one start the process of transforming a living tree into something like a Windsor chair? Exactly which tree? is my first question. It’s an elemental question, and generally the first step in making something from green wood. When I watch or help Kenneth fell a tree and witness that bit of the forest become a spoon or a chair (or recently a ladder up to our son’s room) I find it to be a huge and magical metamorphosis. From a raw material to objects that most people would need to get their credit cards out for. Kenneth has a deep and natural knowledge of woodcraft from many years of working with wood, spending lots of time in the forest, and from being something of a wood hoarder. He generally jumps right into what wooden things to make and how to make them. His choice of wood and how to acquire it, from my vantage point, looks very fluid and easy, he’s generally already got wood in his hands, all the time. But as I said, I’m realizing that there’s a need to detail this vital step of the process: where does one find green wood? And what kinds of wood are best? This moment in the process of green wood work is a very direct connection to the forest. Being able to identify trees and shrubs, and then utilizing that knowledge in making useful and beautiful things is an empowering and enlightening endeavor. I think it speaks to our hunter-gatherer, forager selves and helps make the world a friendlier place, in the same way that having a garden can connect us to nature and help us feel safer and more competent. Therefore I have asked Kenneth to give some specifics and background on how, where and what he chooses for green wood carving. Since he was born and raised in Atlanta, he’s got some good, applied advice especially for urban carvers. - AK where to look for wood “I have found that here in Maine, there’s usually more wood around than I have time to carve. I am particularly interested in foraging for wood that is already down and bound for the wood stove or to be discarded. I’m always surprised how much wood is available if you know where to look — it’s possible that one would never need to cut anything from a living tree and still have an excess of wood to carve. Even when I lived in the city in an apartment, I found wood from people trimming or pruning trees and bushes, cutting things back in their yards. A lot of decorative shrubbery is good for spoons and small carving projects. City parks can be good places to look, when the gardening staff are out pruning trees and shrubs. You can often find branches broken from a larger tree, especially if you head out after a big storm. You may find downed limbs or even whole trees if there’s been a lot of wind. A tree that’s blown over will yield lots of potential spoon blanks from its crown. An orchard requires annual pruning, so they are excellent sources for fruit wood. Most pruning is done in the late winter or early spring. Arborists, gardeners and landscapers are all great resources to connect you with wood and it’s definitely worth making an effort to connect with people in these lines of work. You’ll get to know some new people and you may find yourself flush with green wood without ever needing to cut anything from a living tree yourself. I have occasionally gone to the local transfer station/dump — at ours there’s a specific area where yard waste is collected, usually in the springtime that’s a good place to look for woody shrubs and branches that can make good spoons. This is where I find trimmings of overgrown lilac which is one of my favorite spoon woods. You’ll be able to put something to use that would be thrown away or burned. I sometimes carry a small folding saw with me when I’m out and about in the world, I keep my eyes open for downed branches or trees or piles of brush on the curb. If I’m on a walk in the woods I might keep an eye out for a curved branch that I really like. If you do find a living tree to glean from, be very conscious of the tree’s health; don’t just go lopping of branches without being educated about proper pruning techniques and seasons. And of course be considerate of private property — always ask first. some specific species to look for As a general rule, if the tree or shrub produces fruits or nuts, even non-edible ones, it’s generally going to be a good choice for carving. The wood should have a uniform density and tight, fairly consistent grain and a solid pith (that’s the center point of a branch or limb). I grew up and have spent most of my time on the east coast of the United States, so apologies to those who live in different regions — it’s possible that the varieties I list do not grow where you are. The general fruit or nut rule applies to any region though. Some good species here in Maine are lilac, apple, beech and hornbeam. These four are some of the harder, more advanced woods for carving around here. For starting out or if you are feeling like your hands need a break, try white birch or red maple. In Southern Appalachia the rhododendron and mountain laurel are fine for carving. “Spoon wood” is actually a regional name for Mountain Laurel. The black birch, tulip poplar, cherry, walnut, and the American holly are all good. In the magnolia family, the Southern or Frasier are good choices. Any fruit trees, such as cherry, apple, peach, pear, dogwood, or mulberry are great choices. The ideal carving woods are ones that have a consistent density and close grain, rather than open or ring porous grain. Such consistently dense woods will allow you to carve more detail and achieve crisp facets and polished looking tool marks. birch (good for carving) red maple (good for carving) striped maple (not so good) Wood that is more porous, with different densities between the early and late growth rings can be challenging to carve because your knife will jump a bit between the soft and hard rings as you’re pushing your knife along. It’ll be hard to make nice, consistent cuts. If you carve a spoon out of some kind of very porous wood those pores might wind up on some of your edges. If so, those edges are going to be brittle and problematic, they’ll appear to have a rough texture. The surface of your carving will look rough and your cuts will lack definition. It will also be difficult to get a slick surface when you oil and finish your project. An example of wood that has inconsistent grain density between early growth rings and late growth rings is Southern Yellow Pine. Examples of woods with more consistent densities are Bass wood or White Birch. The Tree Identification Book by George Symonds. Once you find wood, here are some things to notice and consider green wood: We’re mostly talking about using what’s called green wood versus dry wood. It’s ok to carve items from dried wood, but it’s generally easier to carve green wood. Green wood just means that it still has moisture in it, that it was freshly cut. You can cut a section of wood and then freeze it to help contain the moisture and greenness. Keeping a chunk of wood in the refrigerator, or leaving it in the snow or outside if it stays below freezing are good ways to preserve the moisture in your green wood until you can get around to carving it. Place green wood in a plastic bag to help hold the moisture, even if you’ve got it in the refrigerator or freezer (think freezer burn). I have put wood in a flowing stream or pond and kept it submerged with rocks as weights. This works in a pinch for a short period of time but eventually it will begin to rot and discolor if left underwater for more than a handful of days. If you cut a fresh branch and then let it sit in the sun, your wood will start to dry out and often that will cause it to develop cracks or checks. So if you have found some green wood, it’s better to either go ahead and carve it as soon as possible. Otherwise put it in the refrigerator or freezer until you can get to it. Wood can be kept for years wrapped in plastic in a freezer. I like to re-wet the surface of the wood before wrapping it in plastic to give it a layer of ice on the surface, I think it is extra insurance against drying out. The spoon of mountain laurel was carved from 1/2 of the branch at center. The ladle took a much larger branch. dimensions: The size of the tree or branch will of course dictate how big your project can be. I’ll list some general guidelines — Chopsticks only need a branch or shoot about 1/2” to 3/4” in diameter, by about 12” long. For a serving spoon you need a limb that’s not much larger than about 4” in diameter. You can get away with a smaller diameter for eating spoons, maybe down to 2” in diameter. If you want to do a ladle you need to find something with a larger diameter. crookedness and imperfections: Straight grained wood it is fairly easy to find, you can often just get a chunk of firewood and split out a section for a spoon or some other project. I personally think that more interesting looking spoons are usually made from curved branches, so keep your eye out for curved wood and give it a try. You’ll want to keep and eye out for knots and other imperfections that might make it challenging to carve your spoon. Aim for wood that doesn’t have a lot of knots in it — if you’ve found a piece of green wood you want to check for deformities in the bark that would show where hidden branches have grown over. You might find that just the top part of a limb has knots and hidden branches while the bottom doesn’t, so you might be able to use just half of it. I’ll get into more information about spoon design, layout and probably something about steam bending wood for curved spoons in a future blog entry. For now I’m hopeful that this will get things rolling in the right direction for budding green woodworkers.” - KK Bark, by Michael Wojtech. A great book! A bit more from AK -
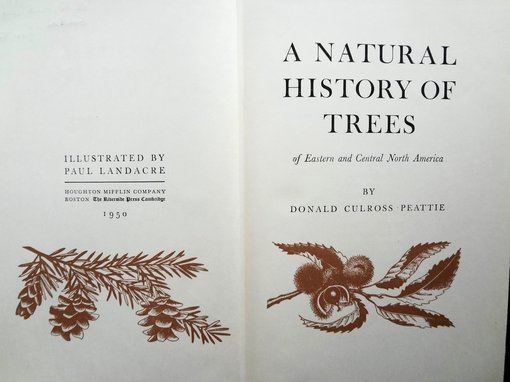
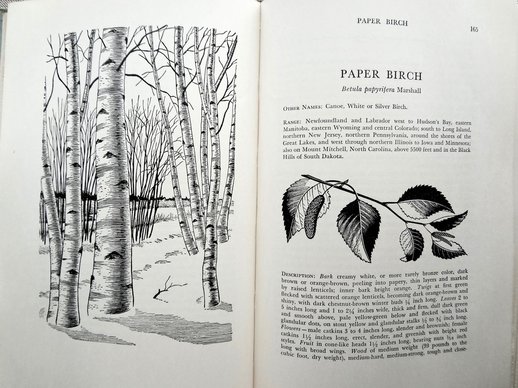
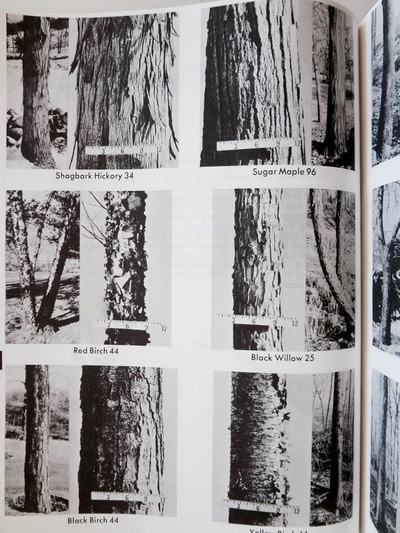
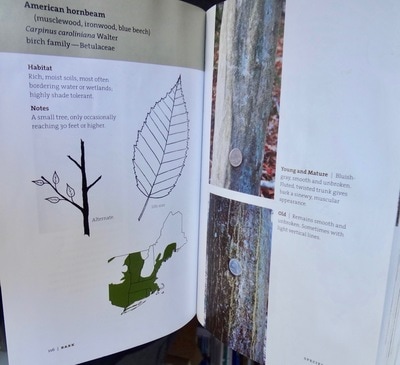
tree identification: If you don’t know much about the trees and shrubs in your area yet, it just takes a little time and attention before you’re soon able to identify several different species without a doubt. Take some time to look carefully at leaves and bark, flowers and fruit, nuts or seeds. You’ll might have more luck with this endeavor during seasons when the leaves are out, but there’s always something to work with and study throughout the year, like bark or the way the tree orients or structures its branches. (Especially if you try the first book on the list below!) You’ll find that you pay attention to the changing of the seasons in a new way as you try to figure out what species a familiar tree might be. Ask local people for information, get a tree identification book from the library, or look on the internet for information. I found an abundance of tree identification books in our small library and used book store, it was a little overwhelming how many different ones I found without much effort. I have included photos of some of the ones I liked, and here is a list of their titles: Bark, A Field Guide to Trees of the Northeast by Michael Wojtech University Press of New England, 2011 - how to identify trees based solely on bark. Kenneth loved this book. A Natural History of Trees of Eastern and Central North America by Donald Culross-Peattie Houghton Mifflin Co, Boston, 1950 - Glorious illustrations by Paul Landacre. Eyewitness Handbooks - Trees, by Allen J. Coombes - Some nice color images and lots of information, nicely laid out. The Tree Identification Book by George W. D. Symonds - Good, clear black & white photos, lots of visual information.
2 Comments
|
Details
Authors:
Angela & Kenneth Kortemeier If you'd like to sign up for our email list, please follow this link:
The little button below (RSS feed) will allow you to
follow the blog without subscribing to the newsletter. Archives
March 2024
Categories |
Proudly powered by Weebly

 RSS Feed