|
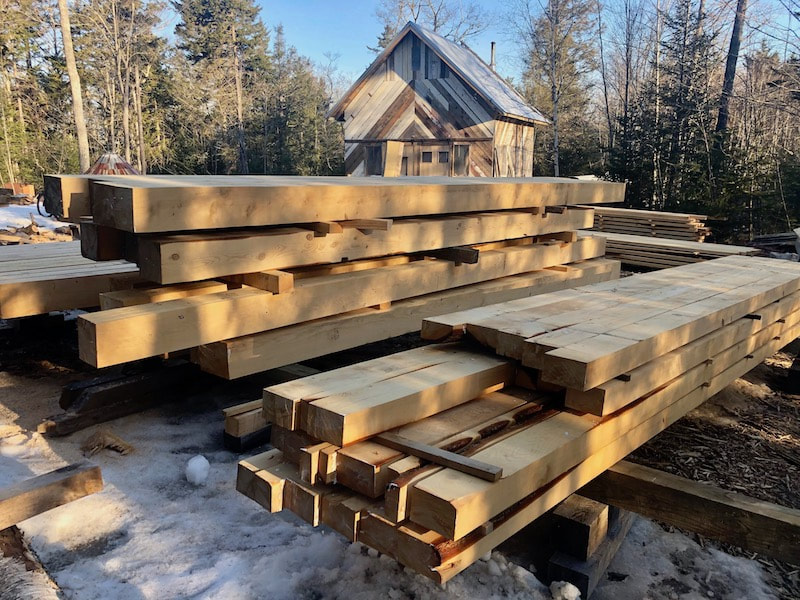
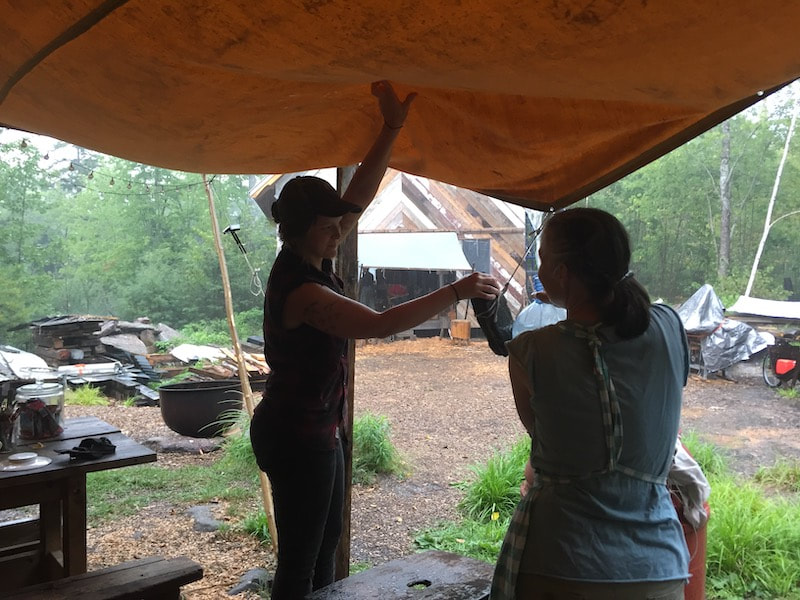
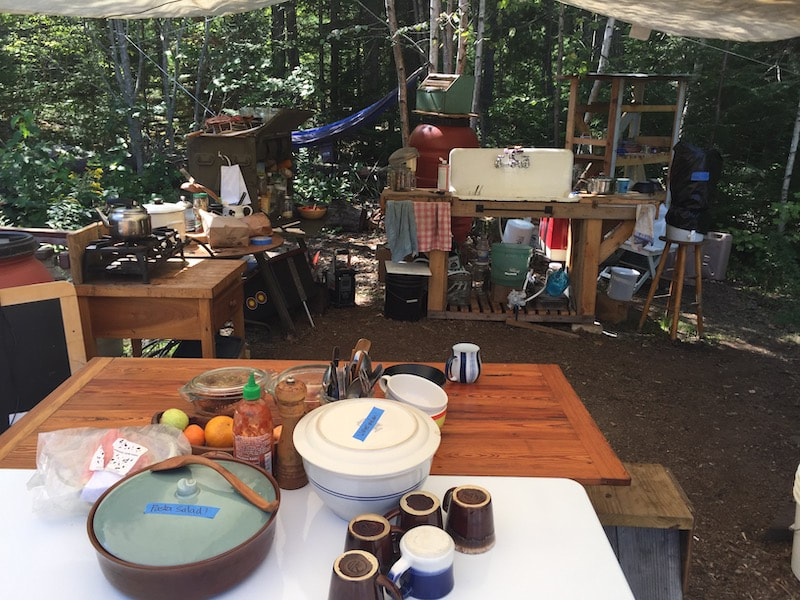
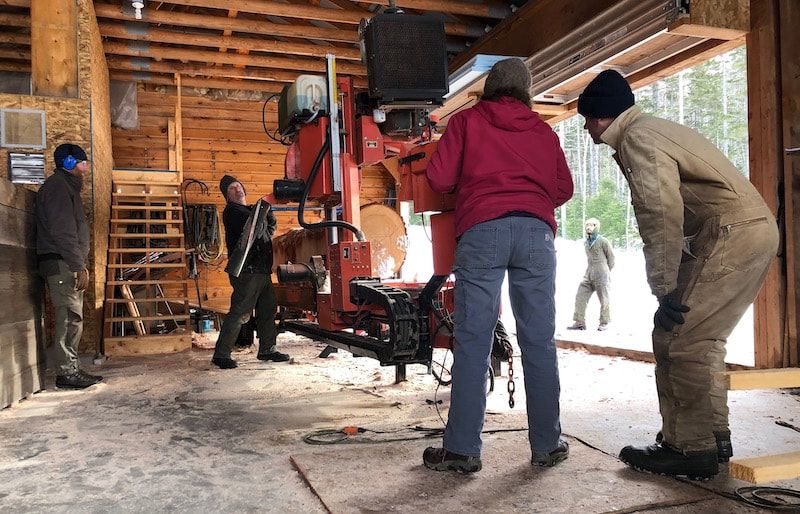
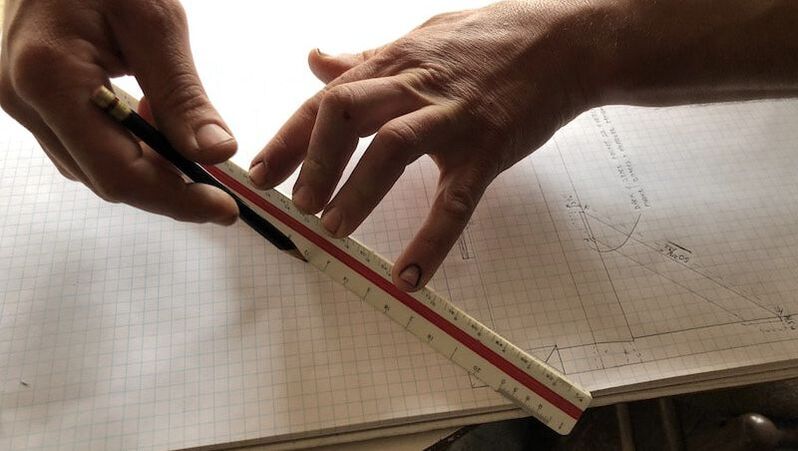
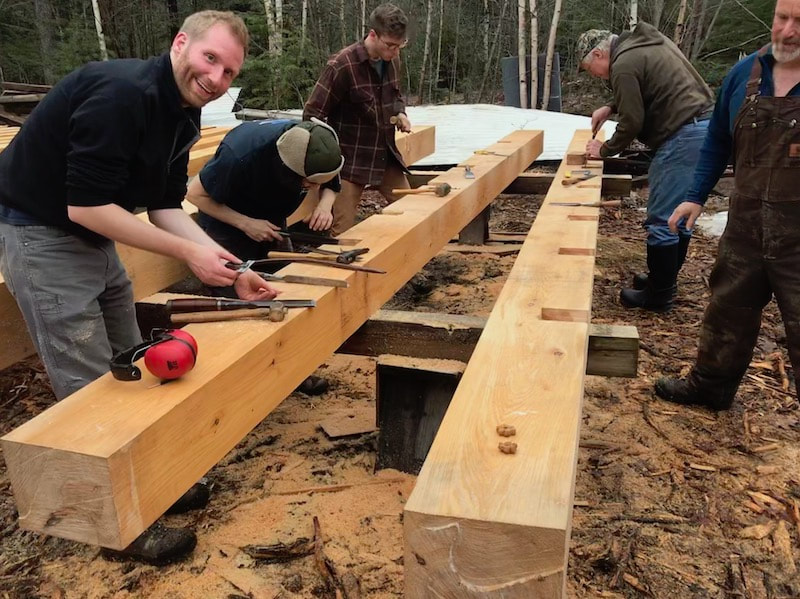
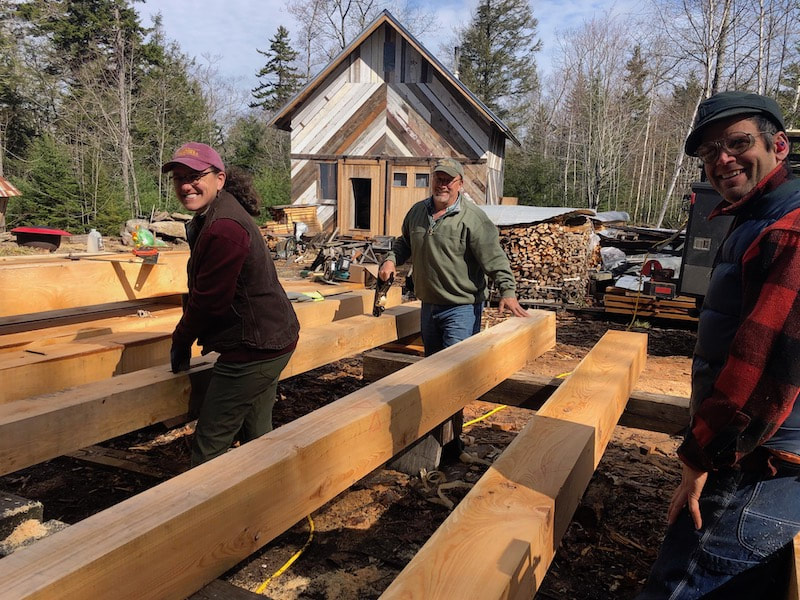
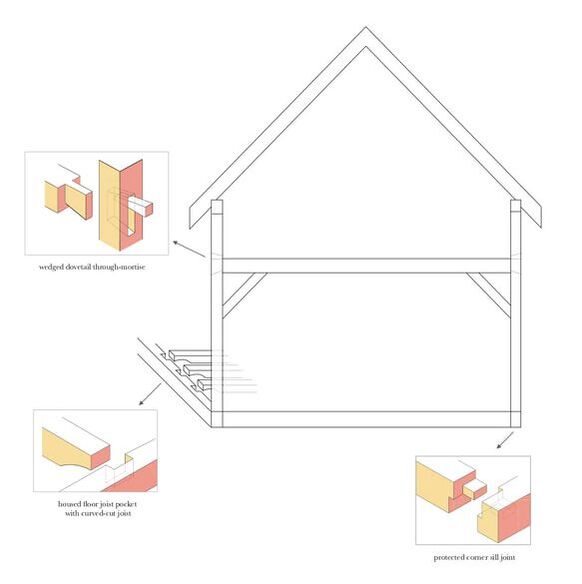
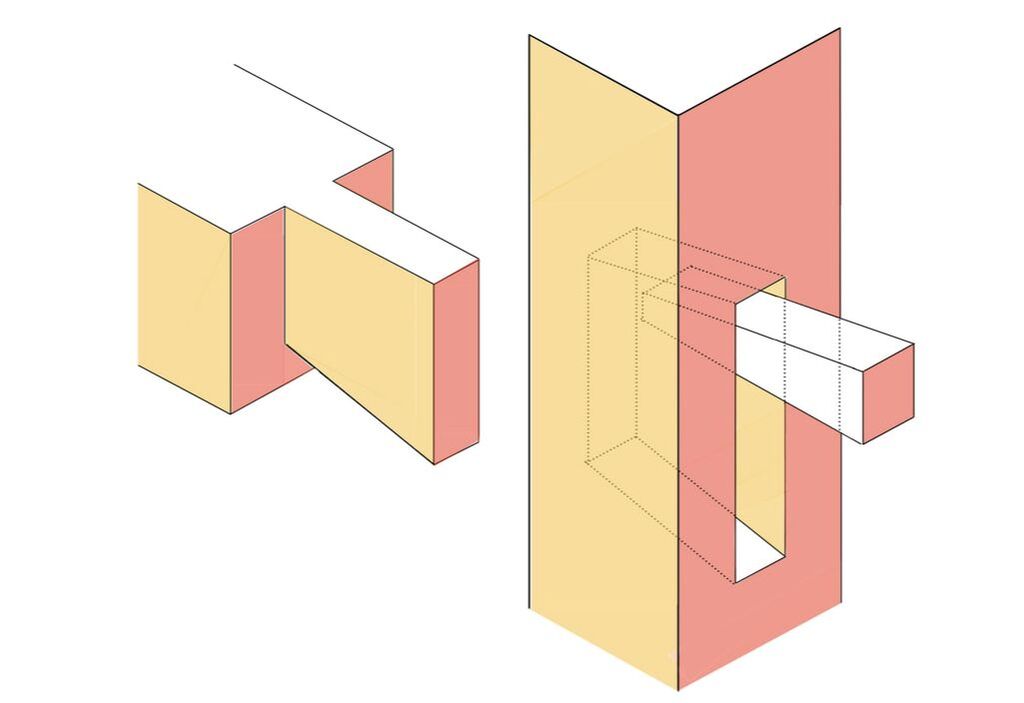
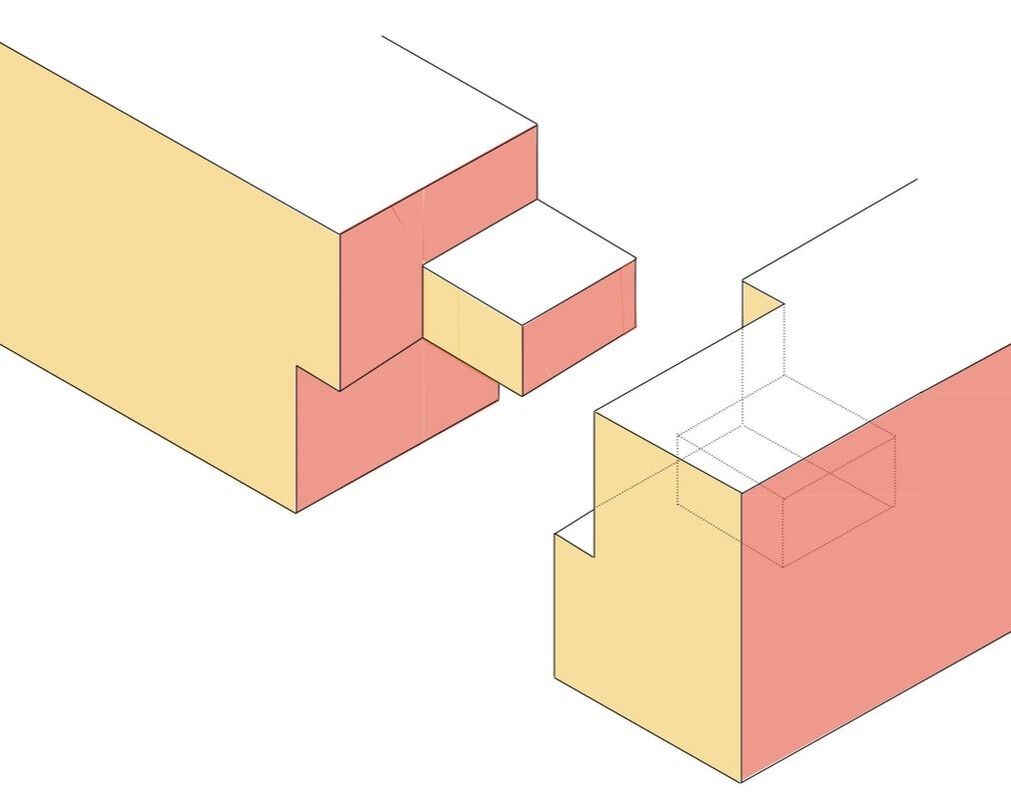
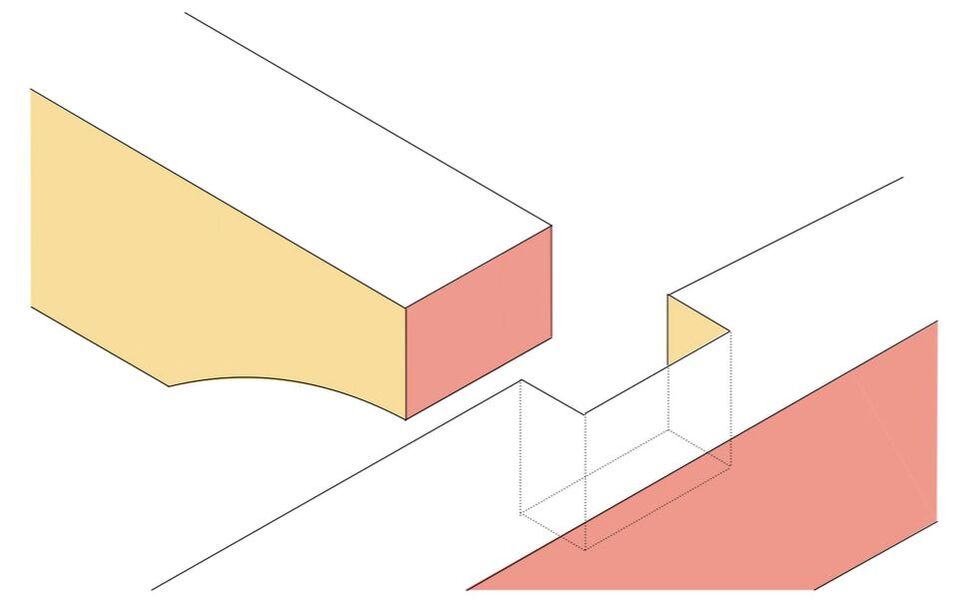
Work began on a new timber framed structure this past winter (2019) here at the craft school. The 16’ x 19’ building will be a comfortable place for sharing lunches and also fika (that’s the traditional Swedish tea break) during our classes. The upper floor of the structure will be a year round home for Angela’s office. We decided to build another timber framed structure versus some other building style first of all because we really enjoy the process of building this way. We also had Amy Umbel arrive in April to help as our spring intern. She was especially interested in learning about joinery and non-sculptural wood working, so this project suited her hopes for learning with us very well. But the most tangible and practical (and wonderful) reason comes down to our friends/former students Dave and Kim Landry, who donated the timbers, processed and delivered, for this new building. During the first two seasons of classes at the craft school, we shared meals under a large canvas tarp, generally a lovely place to gather. But when the rain and wind intensify during a storm it can be wet and cold, especially toward fall. In fact, it was last September (2018) while Dave and Kim were taking a spoon carving class with Jögge Sundqvist that Dave decided it was time for us to build a more solid structure and offered the means to do so. The Landrys generously thinned some of their acreage in New Hampshire of some very large hemlock trees in January, and we joined them in February to assist at their saw mill to create the posts, beams and other dimensional lumber for the project. This style of timber frame is called a Dutch Frame. That means it has high posts along the eve walls and the tie beam (or anchor beam) will connect into the posts near the top plate with wedged dovetailed through-tenons. By placing the posts close together and limiting the length of the tie beams to 16’, there is no need for central posts or floor joists on the second floor. To reduce potential twisting and leveraging of the posts by the rafters, we have limited the height of the posts to 12” above the anchor beam. The extra length of post that comes up above the second floor will create a short knee wall. This knee wall will raise the rafters up a bit and make it a more livable space. Our friend Andrew D. once again generously helped us with the design, as he did for the craft school building in 2016. We chose this type of frame partially because it has multiple bents that are all very similar. This makes cutting joinery with people who are new to timber framing much easier. We knew we’d have lots of people who wanted to participate and learn with us while we were working on this building, so we chose a design which accommodated that. This size & style frame, very common in Euro-American timber framing because of its simplicity, could easily be made into a tiny house and would be a good choice for someone wanting to cut their first timber frame. If you would like to learn more about Dutch frames and their history in America there is an article from Winterthur Portfolio by Clifford Zink - linked here. There are three basic joints we have used in this frame. The most complex one is the wedged dovetail through-mortise, it’s also the strongest joint for this application by far. The dovetail through-mortise joint is used to hold the 6x8” posts and the 8x9” tie beams together. The tie beams will do double duty and function as joists or carrying beams for the second floor. dovetail through-mortise joint For the corners of the 8x10” sill, we have chosen a joint that our friend Micheal Alderson introduced to Kenneth. Michael said he found this joint in an old barn here in Maine and has always liked it because of its strength and minimally exposed seams. Exposed joint seams can introduce rot into the sill, so it’s an excellent, well protected joint. protected corner sill joint For the 4x6” floor joists on the first floor or deck, we have a simple housed joist pocket. This joint is interesting because of the curved “dive” that is cut on the underside of the joist to reduce its thickness as it is let into the sill. This is done because we want maximum stiffness in the joist but it would weaken the sill to take a full thickness mortise. The strength of the joist is a bit reduced by cutting away the thickness, but it remains plenty strong for this application and we retain the stiffness of the joist by keeping it as thick as possible across the central span of the joist. The joist dive is curved to spread out the forces and to prevent splitting the joist at the reductions. Kenneth has seen joists split that were cut with a square notch (which concentrates the forces acting on the joist), therefore he likes the gradual curve to spread weight & force out over a longer distance. housed joist pocket It has been such a wet spring here that work on the foundation for the building has been delayed. And now it’s time to get the shop organized and ready for this summer’s classes, so we’ve decided to stack and cover the (mostly cut) timbers of the new frame for the time being. We’ll get back to work and raise it next spring, once the ground is thawed enough to allow us to start digging holes for all the foundation piers. Looks like one more summer under the big tarp.
0 Comments
Leave a Reply. |
Details
Authors:
Angela & Kenneth Kortemeier If you'd like to sign up for our email list, please follow this link:
The little button below (RSS feed) will allow you to
follow the blog without subscribing to the newsletter. Archives
March 2024
Categories |
Proudly powered by Weebly




 RSS Feed