|
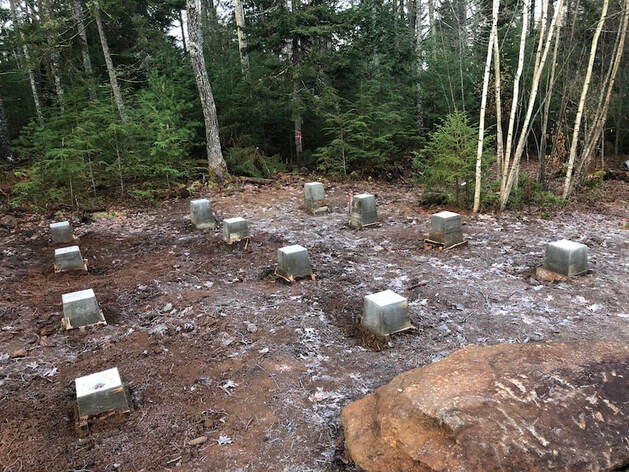
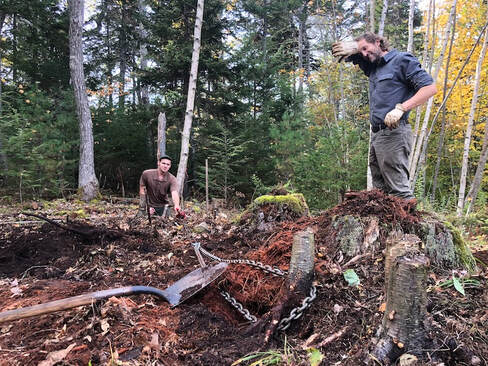
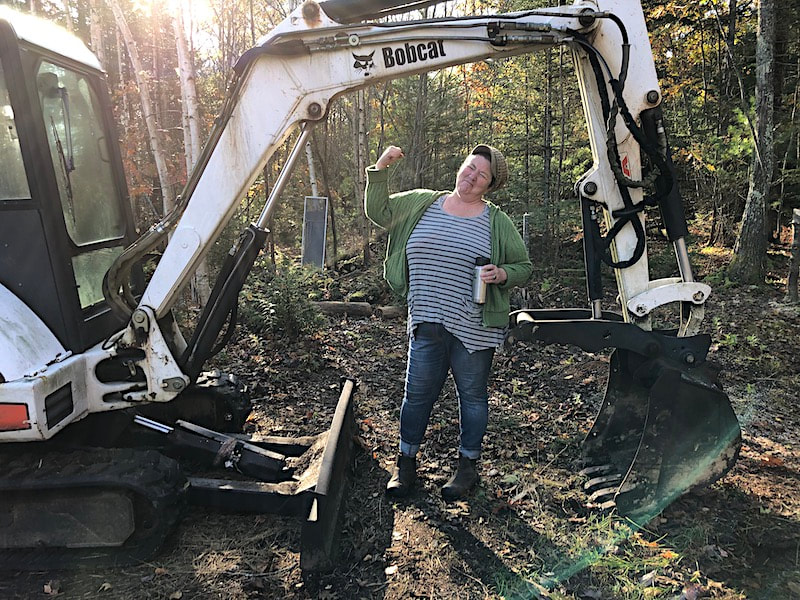
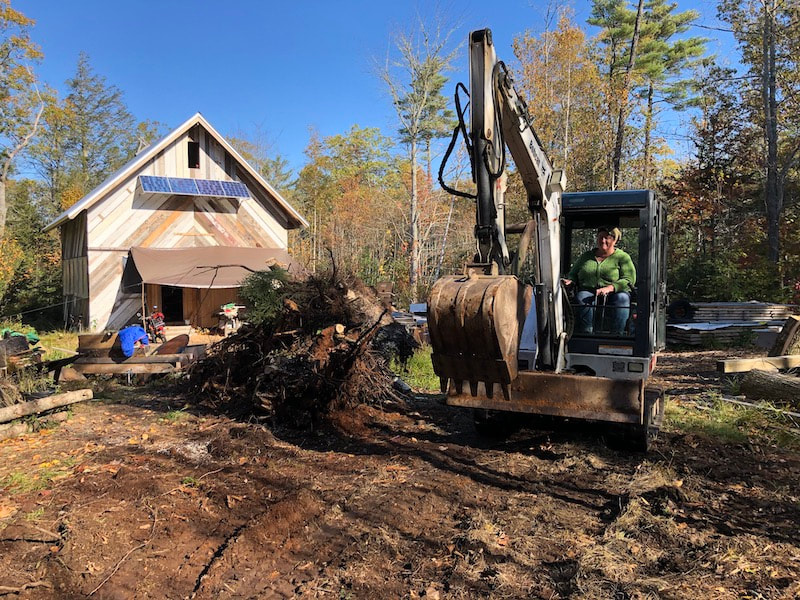
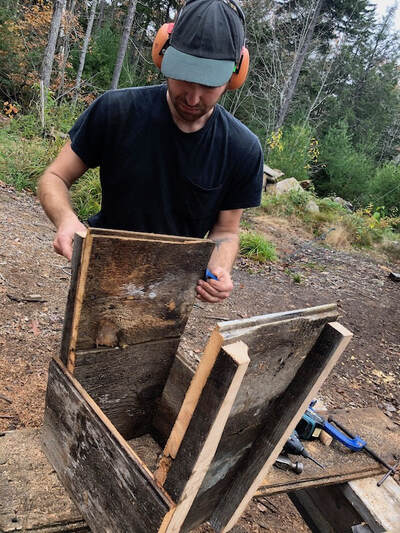
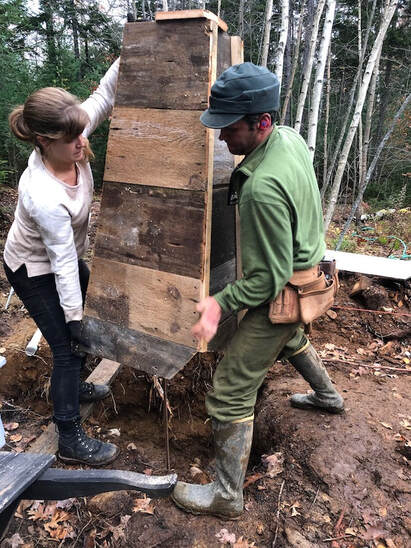
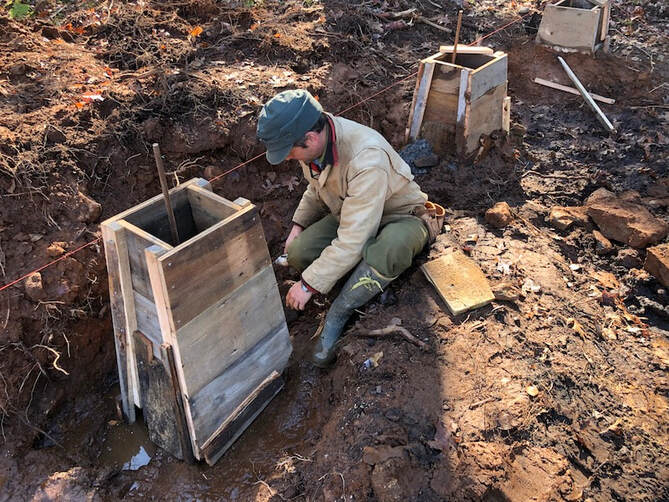
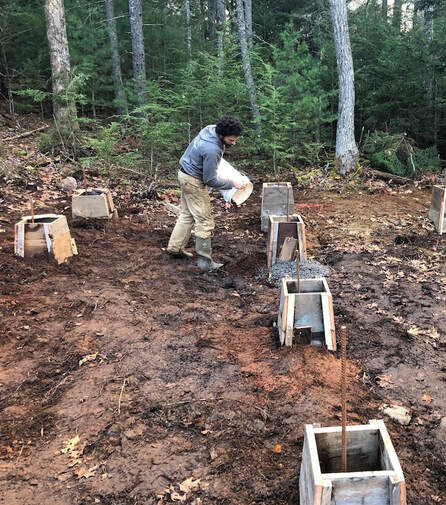
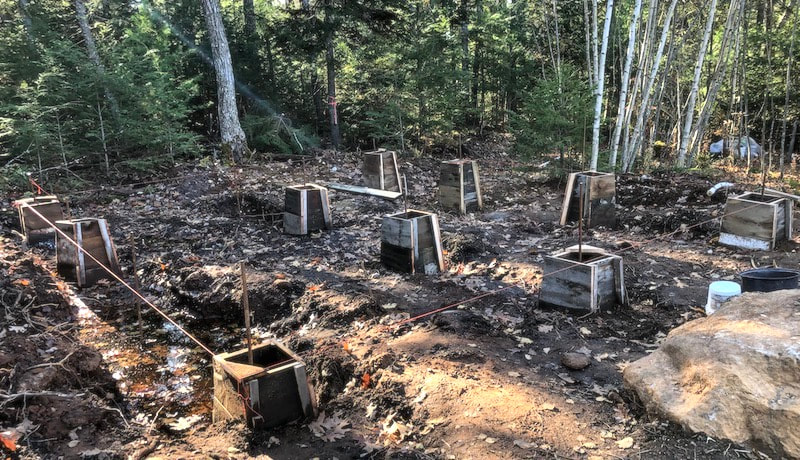
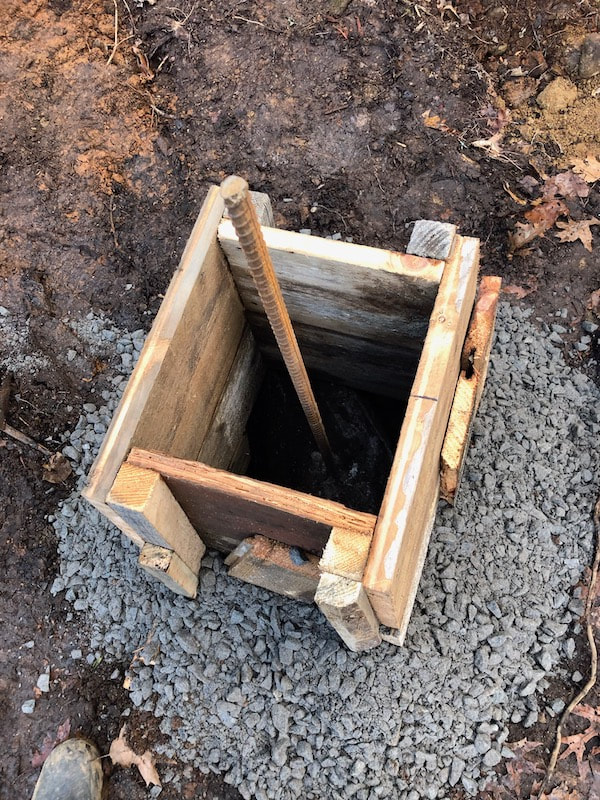
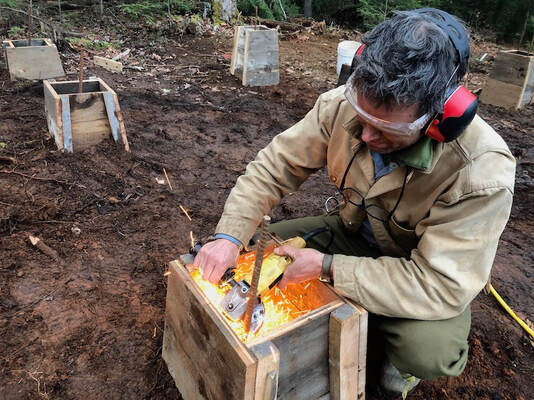
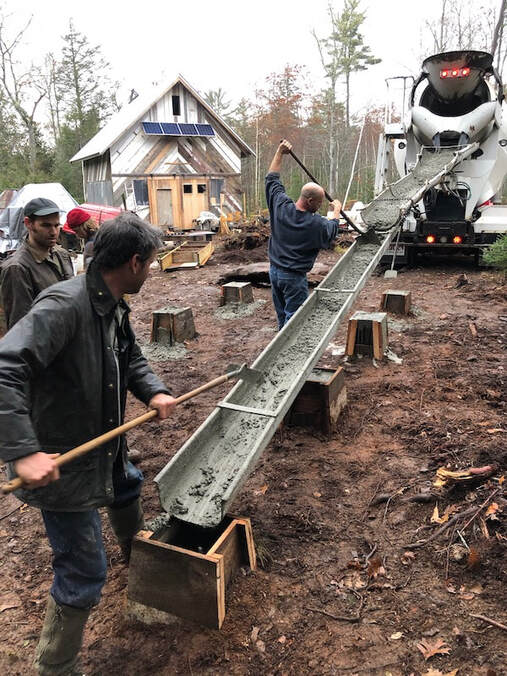
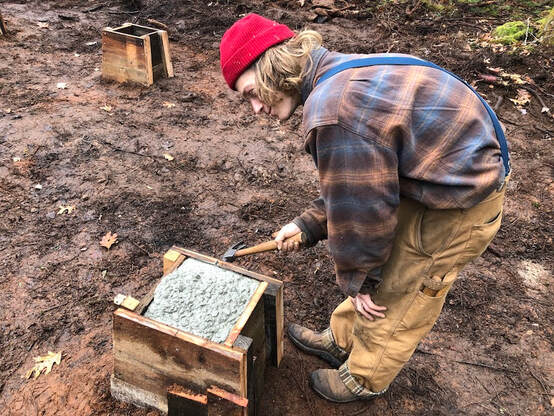
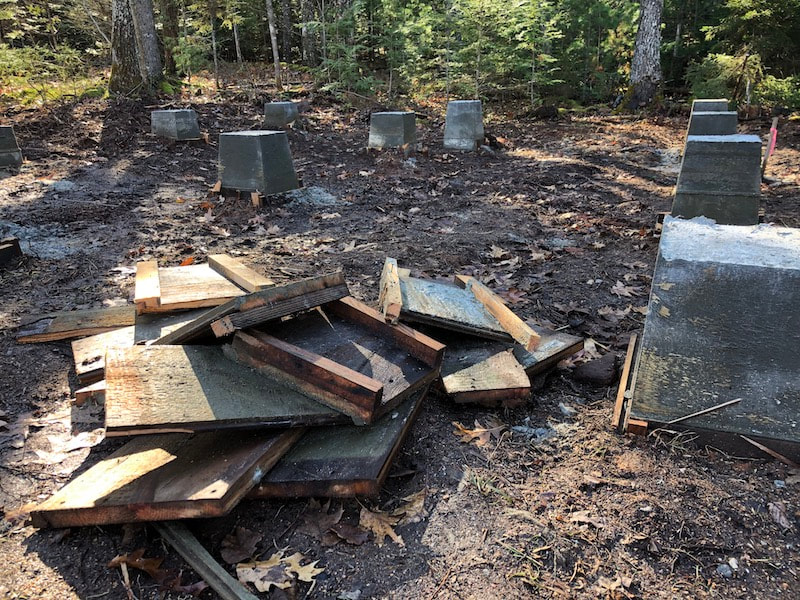
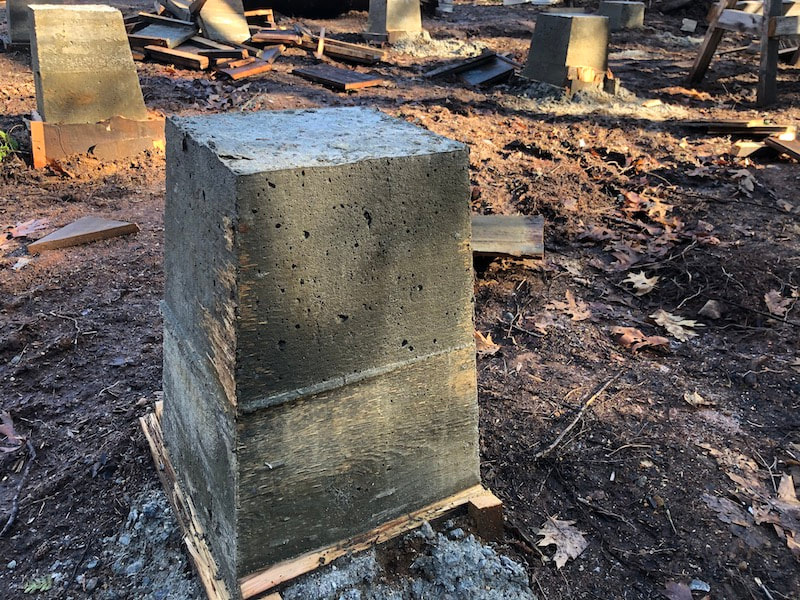
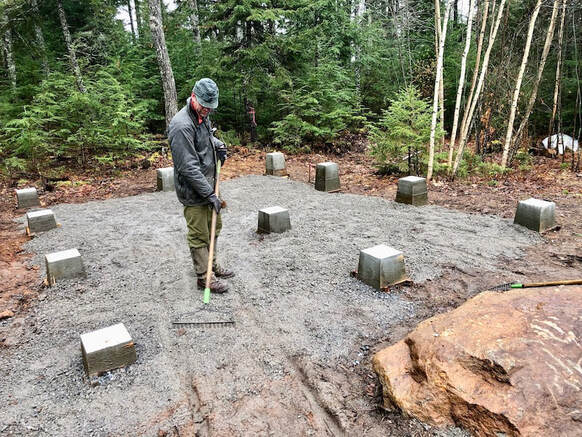
Once classes wrapped up this past September (2019), we got to work on the foundation for our new Dutch timber framed building (which I wrote about in my last post). Here are some highlights of the process of creating the foundation. Spoiler alert: first photo above is of the finished work. Two friends named Dan helped pull some smaller stumps by hand with a chain and a come along. The trees on the building site, though they had been cut 15 or 20 years ago, were still solid enough to have their roots securely interwoven into the granite ledge under the topsoil. We called in some bigger guns. Our friend Hazel and her excavator made very short work of the stumps, and left us with a big, muddy hole and a pile of burnable detritus which reached higher than our heads. Dan was in charge of fabricating 12 tapered, wooden forms for the foundation piers. He used salvaged wood from Kenneth’s famous POPs (Piles Of Potential). Each tapered, wooden pier form was custom made and then scribed to the ledge in place. The taper is helpful for frost heaves, but mostly we use the taper to provide a wider base of support. Here, Lily and Kenneth lower one of the tallest forms into place. They were working on scribing the form to the contour of the ledge, so the form needed to be placed, the scribe line drawn, form removed and cut, then placed in the hole again. (Repeat, until the connection was right) It was a custom fit for each of the 12 forms. One corner of the foundation met the granite ledge about 5’ down, the other corners were much shallower, more like 1’ or 2’ deep, so only two of the forms were as large as the one you see Kenneth and Lily working with above. 5/8” rebar was drilled about 6” into the granite in the center of each pier to serve as a pin. The forms were positioned and then backfilled with the displaced earth and then gravel. Our farmer friend Ben, below, was instrumental in cheerfully helping with the earth-moving work. Kenneth, below, grinds the rebar to the appropriate height so that it reaches below the level of the concrete and does not show in the finished pier. It was a bit much to get all 12 wooden pier forms level on top. Each was a different height overall, and each was buried at a different depth down to the ledge. Therefore in order to be able to guarantee a consistent height for our finished concrete tops, Kenneth “shot” a mark across the tops of the wooden forms with a transit level, starting with the shortest form of course. Then we drove a nail through the wood at the level mark on each of the other piers. The nail was visible on the inside of the form and allowed us to fill each one just right. And here’s the concrete. We requested the fiber-mix, which is ultimately stronger. Austin taps the form with a hammer to help move air bubbles up and out of the concrete. The wooden forms were dismantled above grade. We’ll leave the wood to rot below the soil, since digging the piers out again is just too much moving of dirt. We're fond of the wood grain now forever visible on the piers. It reminds us of Kenneth's late friend Huston Dodge, whose life-long salvaging skills provided the boards we used. The final task before winter sets in is to spread gravel over the mud and around all the finished concrete piers, then we’ll be ready to go in the spring. The structure will pop up pretty quickly, now that the foundation is ready and the joinery has all been cut by Kenneth and Amy Umbel during the spring of 2019. This blog entry is basically a re-telling of the story which I documented in a series of posts on Instagram - check those posts if you’d like more information about some of our many helpers during this project. All the best to all of you, Angela Kortemeier
0 Comments
Leave a Reply. |
Details
Authors:
Angela & Kenneth Kortemeier If you'd like to sign up for our email list, please follow this link:
The little button below (RSS feed) will allow you to
follow the blog without subscribing to the newsletter. Archives
March 2024
Categories |
Proudly powered by Weebly

 RSS Feed